
Removing refrigerator doors can be a difficult task. There are many things to remove and remove safely, such as the door seal and any food that is in the way. This article will provide you with instructions on how to remove your fridge door and all of the steps involved.
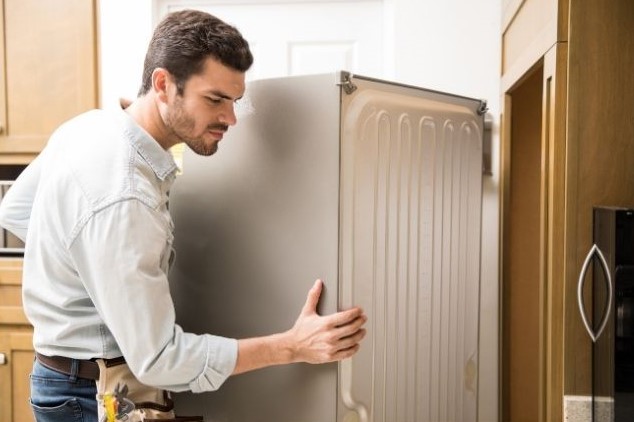
When we remove refrigerator door
You remove your refrigerator door when:
- you are going to fit your refrigerator through small doorway.
- it breaks or malfunctions and you need to repair it. Replacing one part is easier than going through all of it for repairs, this might be the best choice. The hinge cam, for example, is a typical example of this.
- your refrigerator is going to be disposed or stored. In this situation, the U.S. Consumer Product Safety Commission recommends either removing the refrigerator door or lowering the fridge to prevent a small child from getting trapped inside.
Is it easy to remove a refrigerator door?
It is not a difficult procedure to remove a refrigerator door. All you need is the proper tools for removing doors and some time to make sure everything goes smoothly.
- Step 1: Remove food
To remove a fridge door, start by removing all food items from inside of your freezer and refrigeration unit. If possible, remove some shelves too so you have more space for working on doors.
- Step 2: Unplug the refrigerator
Unplug the power cord or turn off electricity at least two hours before starting. To prevent accidents, make sure that your fridge is unplugged or switched off at least two hours prior to starting this procedure. If it isn’t, stop now and do not continue with these instructions.
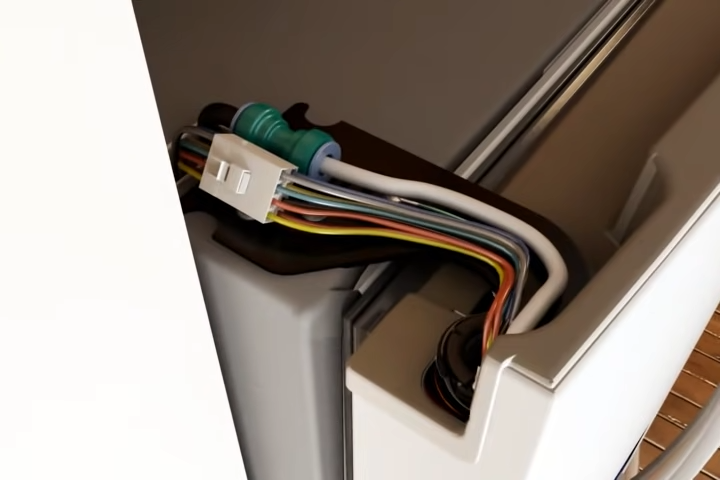
- Step 3: Disconnect wires
Disconnect all wires from the refrigerator door by unscrewing the connectors. There should be at least two, but maybe more depending on your fridge.
- Step 4: Disconnect water supply line
Some refrigerators models have water supply line. If your refrigerator is still connected to the water supply line, remove the door by shutting off the water valve. This is located behind or near your refrigerator and should have a small lever that you can turn off with an adjustable wrench.
Once the water valve has been turned off, use pliers to disconnect the hose from the fridge.
- Step 5: Remove the hinge
Take a look at your fridge and identify the screws that are holding the door in place. There should be between two to six screws on each side of the refrigerator, depending on the model you have. Use a screwdriver of the appropriate size to remove the screws that attach the hinge to the refrigerator.
- remove upper hinge
Remove the screws that attach the top hinge to the refrigerator cabinet. This hinge is typically attached with two screws. If there are any metal brackets left over after removing the screws, remove these too.
- remove lower hinge
Remove the screws that attach the bottom hinge to the refrigerator cabinet. This hinge is typically attached with two screws. If there are any metal brackets left over after removing the screws, remove these too.
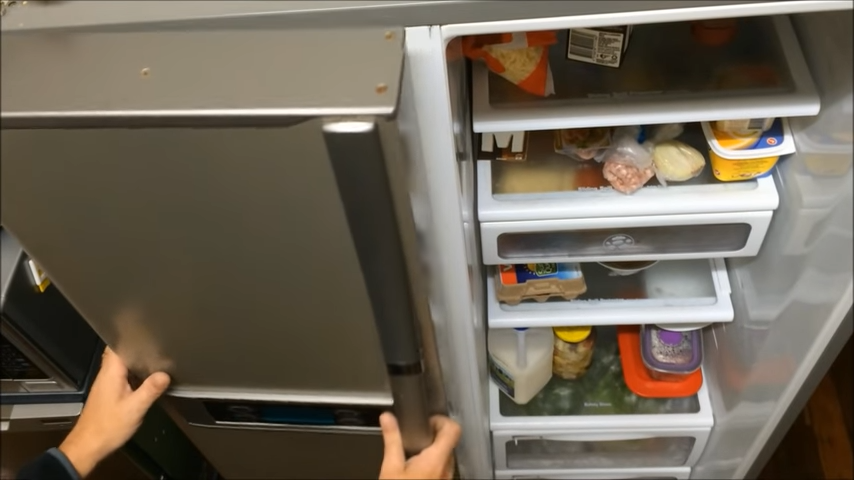
- Step 6: Separate door from fridge
Once all screws have been removed, hold onto top of door (or top of fridge) with one hand, then remove screwdriver and lift up door.
Once you’ve removed the refrigerator door from the front frame, take out any shelving that may still be in place if necessary. If your refrigerator is going to go through a doorway or down stairs it might be best to remove all shelves too just for safety purposes.
If your refrigerator is going to be stored or disposed remove the door by unscrewing it from hinges and removing screws that hold the frame in place on both sides of fridge.
It will then slide right off, leaving you with just a frame left over after removing doors.
If any part of this process seems too difficult for you, it is best to call a professional.
Final words
Now you know how to remove refrigerator doors! Make sure to follow these instructions carefully and be safe while doing so. If you have any questions or concerns, feel free to comment below or contact us for more help. Thanks for reading!